
Hello my lovely blog readers, I hope you are all well. I have to apologise as apparently the sound isn't that good in my video :( I am new to shooting my own vids and only have very basic kit. I will keep trying. I have been told that I may get a better video from my phone but that will mean investing in some sort of gadget / tripod that fits an iPhone of you know of something please let me know.
Now onto today's project, it includes a little sneak peek too - only 6 days till the new Spring/Summer Catalogue goes live! I have made a masculine themed card using one of my favourite sets, Hearts a Flutter. The set also has a coordinating set of framelits available so cutting them out is a breeze! I have used a technique that I have called 'double kissing' and I have taken a few pictures of the process to help explain myself. The technique in itself is not new and it is a great way to add interest to your more plain stamps, I've not seen it used like this before though.
First take 2 stamps, one that is a solid image and one that has a pattern on it and ink up the solid image stamp, it’s easier if the pattern stamp is at least a little bit bigger than the solid image.

Next lay the solid stamp onto the pattern stamp, this will ‘kiss’ the ink onto the pattern.

I wanted less ink on my solid stamp now so I stamped off gently onto my grid paper, your two stamps should now look like this

Next ‘kiss’ the stamps together again so that you add the pattern onto the solid image, your solid image stamp should look a bit like this

Now you can stamp your image, I like to ‘huff’ a warm breath onto my stamp first to re-moisten the ink a little. This is my stamped image

After I had stamped and cut my banner pieces I attached them to a length of linen thread on the top layer for the card front (sneaky peek of a new stamp!) This next picture shows how I have used sticky strip so that the pieces will hang free from the card front. Oh and as you can see on the heart I made a little mistake – even I use the ‘emergency side’ of card stock!

You may have been wondering what the rest of this post title meant? Well when I was assembling this card I had nearly finished and had glued my top layer when I dropped it in the wrong place! No need to panic – sticky situations like this can be fixed! I had glue visible on my soft suede mat as you can see

I reached for my trusty adhesive remover, it’s not pretty but it is AWESOME!

A few swipes over the offending area… and all is good as new!

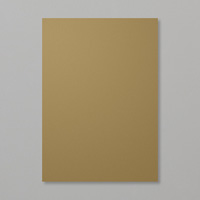
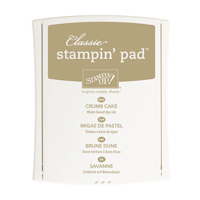
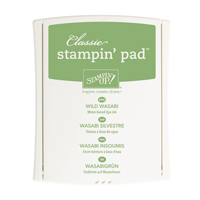
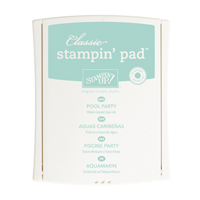
Here’s the finished card, my colour scheme is Very Vanilla, Crumb Cake, & Soft Suede teamed with a bit of Pool Party & Wild Wasabi for a bit of ‘pop’, the sentiment is from Teeny Tiny Wishes.

So I hope you like today’s project, it turned out to be a much longer post than I'd anticipated! Come back soon as I have some more sneak peeks of Sale-a-Bration & the Spring/Summer catalogue for you.

 |  |  |  |  |  |  |
 |  |  |  |  |  |  |
Table built using Stampin' Up! Product Table Builder from The Crafty Owl.
No comments:
Post a Comment